

OVERHAULING
THE CURRENT WINCHES ON VIXEN SCM H22 1980
DISMANTLING AND SERVICING
BY
KEVIN MITCHELL
Like many pieces of deck hardware one is often led to believe they are more complex than is in fact the case. I am sure more modern winches are very different but those on my SCM H22, as seen in my photographs, do not hold major surprises for the would be service engineer or Hurley owner.
I had read somewhere that it is a good idea to measure the diameter then mark out in pencil the circumferrence of the winch and cut a hole in the bottom of a small cardboard box and place it over the winch taping it in place, that way anything likely to drop out won't be lost. Make sure you have a good selection of tools, a clean rag and some suitable cleaning and greasing agents. I have heard that diesel oil is a good lubricant but since I have a petrol outboard I did not have any.
First, extract the bolt from the top centre of the winch and slide the whole drum upwards, the two lower pawls will come out of the lower train or notched section of the drum but won't ping anywhere, as they are pivotted under a plate and held in place with a small bolt. Both have a sprung wire attached, which, when in use, hooks around the base of the central shaft. Now you can separate the black top part of the winch from the drum and this exposes the upper pawls. on its underside surface. The drum is identical top and bottom with a rebated notched ring around the whole inner circumferrence.
I worked on the cockpit seat so as not to lose anything over the side and placed the drum to one side then started with the base, cleaning the pawls and their fittings without removing their retaining bolts. Although one might consider it a sacrilege to use WD40 it is a good cleaner and prior to re-lubricating I completely wiped all signs of it away with kitchen towel. You could use a degreaser. Using a flat bladed screwdriver I cleaned out each notch which the pawls click into, where there was a build up of almost solid old lubricant. I then did the top in the same way. Using some light marine grease I put the thinnest film around all moving parts and the shaft before re assembly. There is a special winch grease available but for such a small amount needed I decided not to buy a whole tube or tub, maybe I will regret it in the future but I've decided this is not a difficult job and propose to re-do it on an annual basis so I'm sure all will be OK
I tackled the top first, by placing the top plate above the drum I positioned one pawl into a notch then pushing against the spring of that one aligned the drum and plate and with a thin bladed screwdriver poked the other pawl inward until it too dropped into its nearest notch. Rest those two components gently on the deck and get a length of waxed twine around 1 ft or 300mm long and place it around the two lower pawls and exert a little pressure until they are both retracted under their plate, keeping the pressure on with one hand slide the drum and the top section down the shaft and into place and now pull one end of the twine and the pawls both click out into their nearest notches, job done, apart from reinserting the retaining bolt in the top of the winch housing and tightening up.
I had serviced both winches within one and a half hours and was able to enjoy my lunch feeling self-satisfied with another new job done and dusted so take heart and don't be afraid, the older the winches, probably, the simpler the mechanism!
Click on an imagee to enlarge
|
|
 |
|
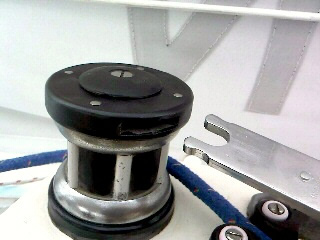
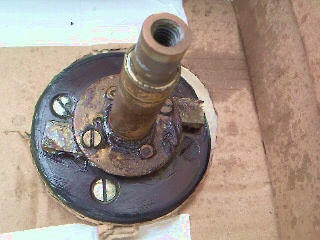
1. Before dismantling |
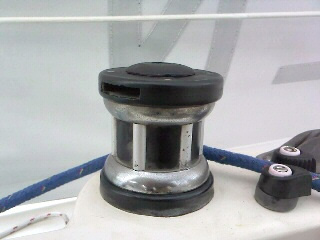
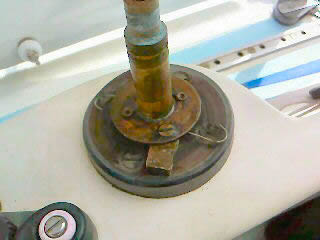
2. Before dismantling |
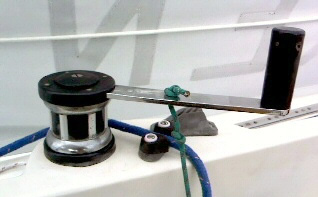
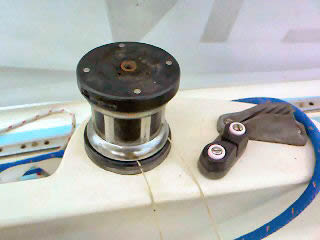
3. Winch handle in |
 |
 |
 |
|
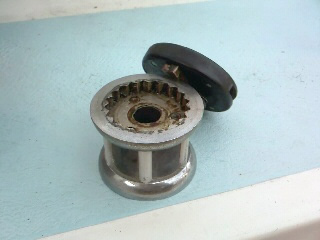
4 Top of drum |
5. Top inverted, pawls visible |
6. Base in box |
 |
 |
|
7. Pawl in open position |
8. Top bolt out, twine visible |