

Hurley 22 SCM Rudder Post Gland Service
 |
 |
 |
|
Photo 062 |
Photo 008 |
Photo 009 |
 |
 |
 |
|
Photo 014 |
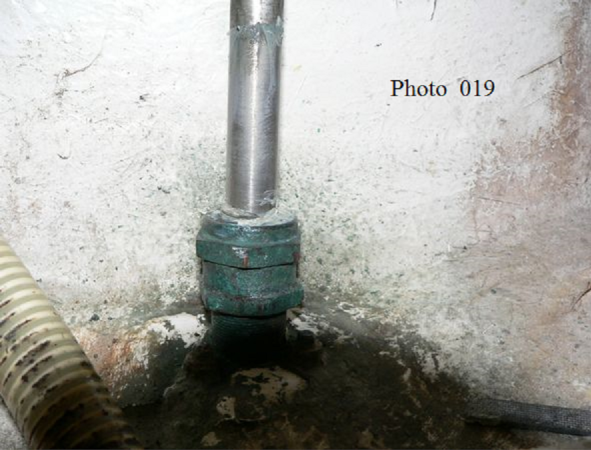
Photo 019 |
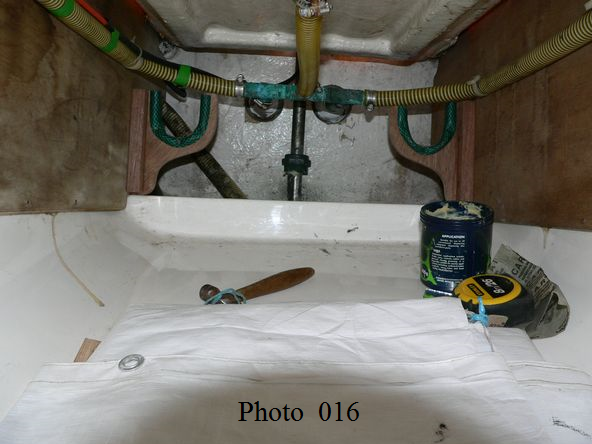
Photo 016 |
 |
 |
|
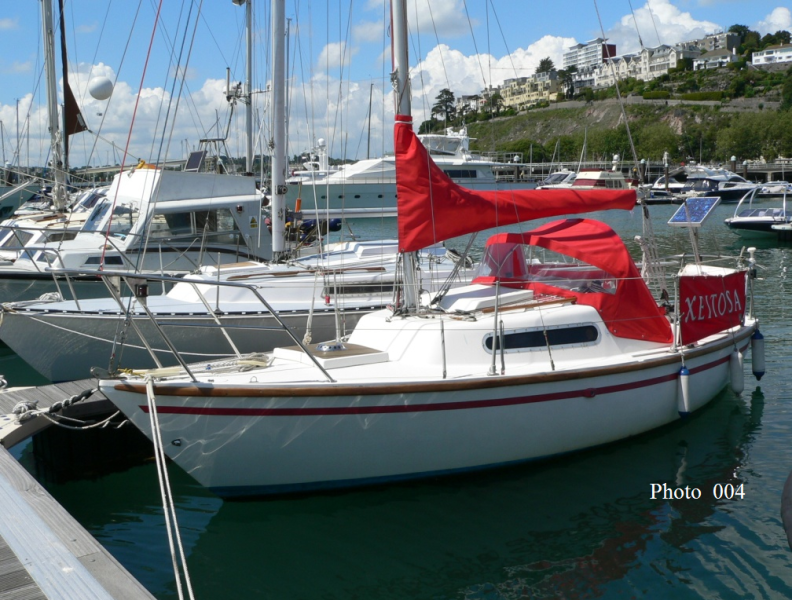
Photo 004 |
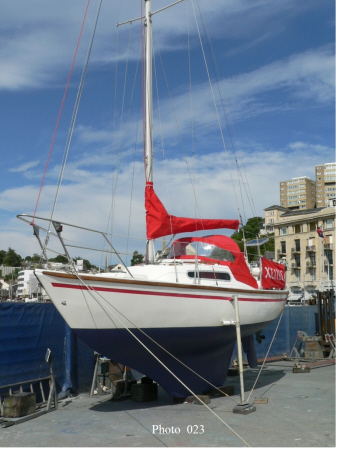
Photo 023 |
Hi Fellow Members,
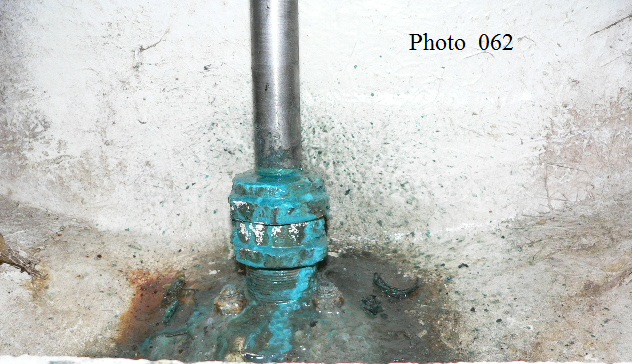
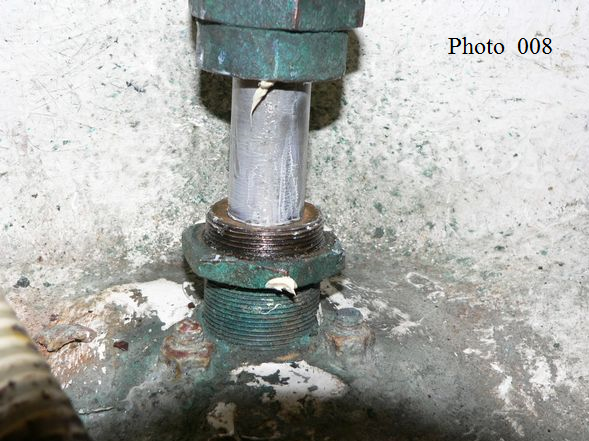
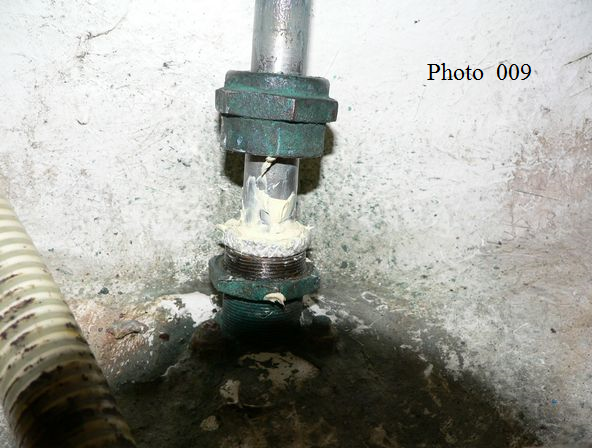
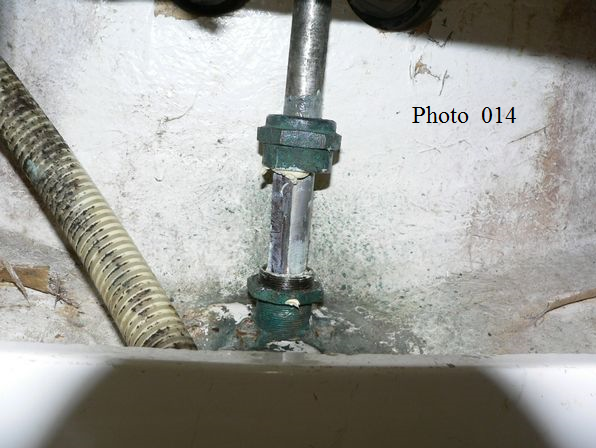
Photo 062 shows gland leaking, Photo 008 shows bottom locking nut unscrewed (clockwise), and the gland carrier parted from the stern tube to allow packing to be fitted, Photo 009 shows first ring of gland packing cut to size and coated with waterproof grease ready to be fitted, when fitting I found it easier to bring the gland carrier down over the packing until the ring of packing went up inside the carrier. Once the packing is level with the bottom of carrier I used a piece of hardboard 20mm wide cut to about 60mm in length placed on the flange of the stern tube against the rudder shaft (see photo 014) to force the packing up to the top of the inside of the carrier. This is done by pushing the carrier down over the hardboard until the packing is as far up inside the carrier as it will go, moving the hardboard around the shaft to make sure that the packing is sitting flat inside the carrier, then lift the carrier up again to its starting position above the flange and start the whole process again with two more rings of gland packer making sure to stagger the joints.
I put one joint at 1200 hrs one joint at 0600hrs and one joint at 0900hrs. Once all the rings of packing are inside the carrier, the carrier can be moved down over the stern tube again and screwed back onto the tube but only finger tight until the packing starts to grip the rudder shaft +1/4 of a turn. Then bring back the locking nut to the carrier and lock both carrier and lock nut together don't over tighten the joint as it will eventually need to be re-packed again at a later date.
Photo 019 shows job completed, photo 016 shows just how much room there isn’t, so make sure you get organised with all the tools you need and packing cut to size, grease and hardboard and two adjustable spanners that will open up to 50mm because the gland is 50mm across between the flats. I also found that an LED headlamp was very useful as there is not much light under the cockpit sole.
I have
also included a photo of the antifouled boat and engine, solar panel
and legs just for good measure Photo 023, and 004, waiting to go
back on the mooring. I thought I would take photos of the procedure
as I couldn't find any info available when I came to do it myself
I hope this is of use to you, and wish you luck.
Regards
Philip, Torbay Devon England
P.S. I would advise printing this page off so you can read text and
view the photos at the same time .