

Laptop Table Stand
In September of this year I bought an old (1969) Hurley 20 for refurb. Along the way I decided I would like to use my laptop as a chart plotter but there is very little space in the H20, and laptops hadn’t been invented when George Hurley was producing the Hurley 20 anyway!
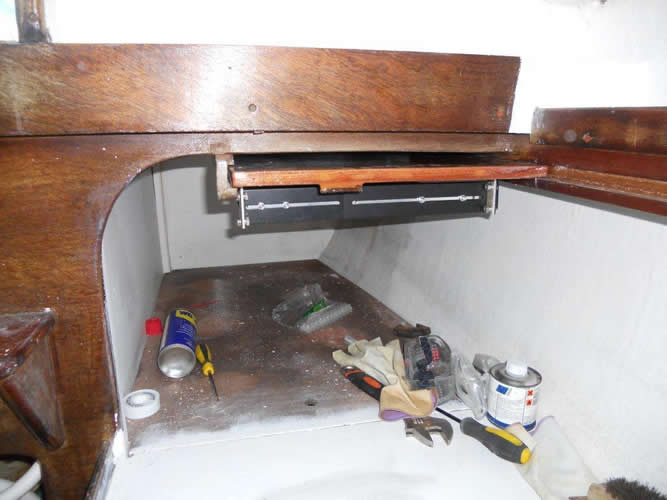
It soon became clear the lap top would occupy a goodly portion of the chart table and would need careful stowage/storage when not in use to avoid damage. I came up with a cunning plan to make a new slide out chart table as the original was missing anyway and add a standard 19” rack slide out laptop shelf on the underside of the chart table that pulled out into the middle of the boat in use, and when slid back in, provided a secure storage cradle for the laptop away from damp and damage and allowing the chart table to be used with paper charts unimpeded when the lap top was simply slid away underneath.
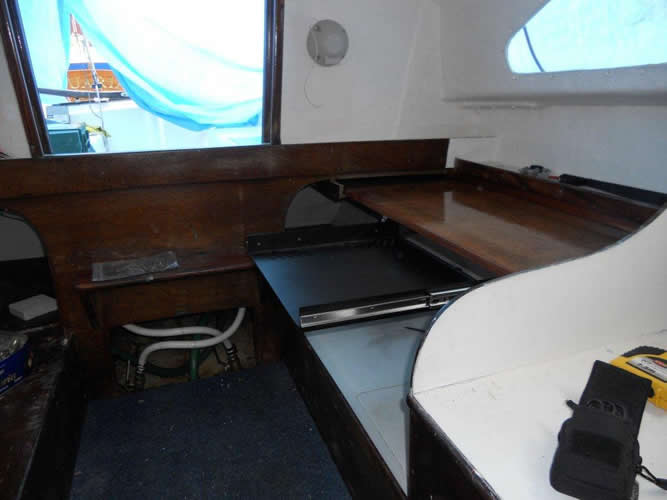
This arrangement also allowed the whole shebang to be slide away under the cockpit area when not in use maximising cabin space and avoiding the laptop lying about anywhere vulnerable. It also allowed the port berth to be used as normal when the navigation items were stowed so crew could enjoy some respite between watches.
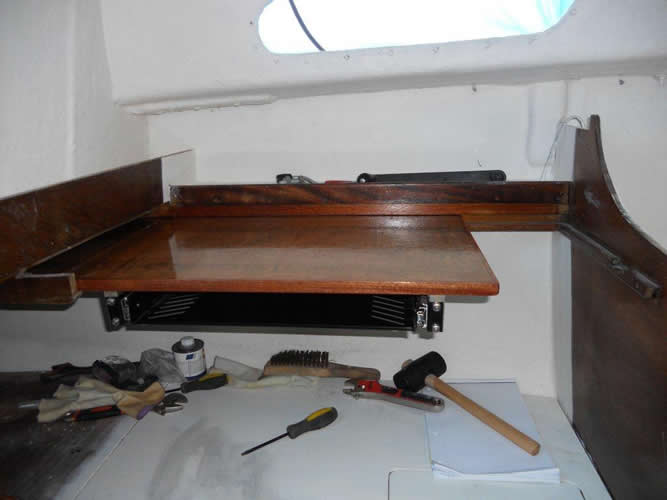
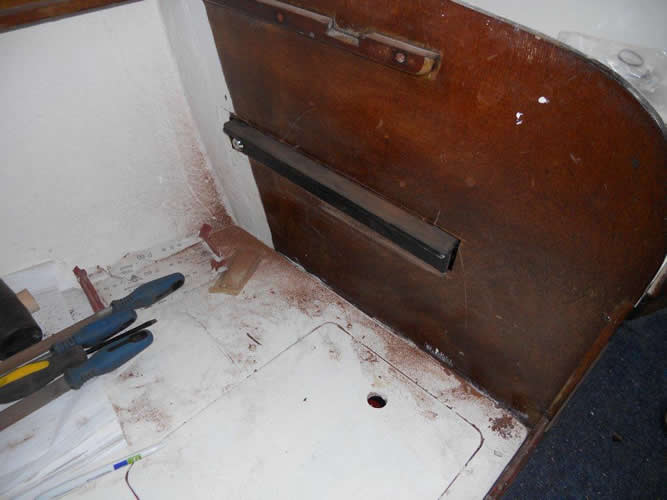
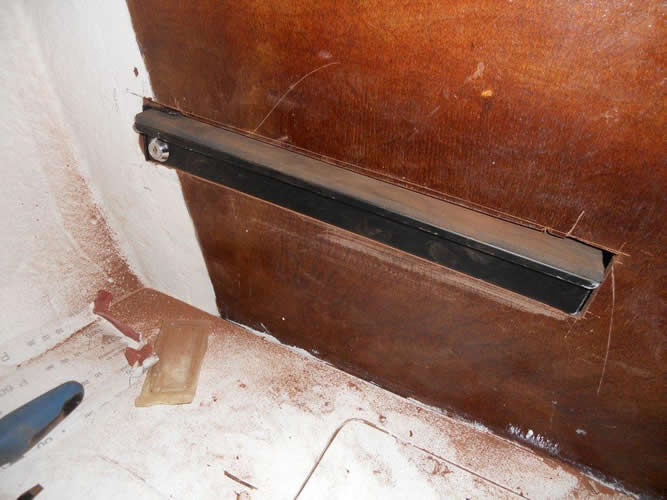
To use the chart table and laptop, the table slides out on rails from under the cockpit area towards the bow of the boa (see pics)t. The laptop is then slid out at 90 degrees (towards the boats centreline). Sitting on the starboard berth allows comfortable use of chart table and laptop.
I acquired a sheet of ¾” marine ply from my local boat yard and some hardwood redundant skirting board from my next door neighbour. I cut the marine ply undersize by just over ½” (14mm) then using a table saw cut the hardwood to size to make a beading (rim) around the plywood table.
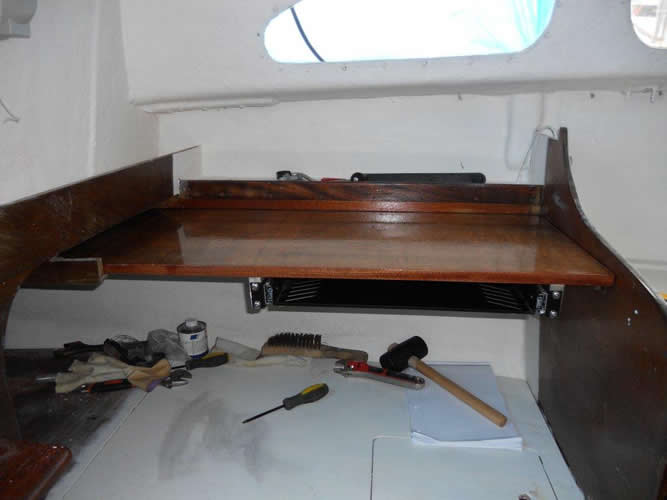
The bead was cut to length, mitred and then copper pinned and glued to the rim of the chart table. The whole assembly was then machine sanded before trial fitting.
Once trial fitting and adjustments were completed, the whole assembly was varnished and polished before the laptop rack was reattached to the underside of the chart table and the entire assemble fitted in the boat using the existing chart table rails Hurley had kindly provided.
A triangular hardwood pad was made and attached to the underside of the chart table to locate into a similar wedge shaped slot cut into beading attached to the boat mid-ships bulkhead to stop the table retracting towards the stern when in use during heavy weather.
Some basic tips were:
· Always use a screw or other mechanical fixing when gluing parts together as adhesive alone is rarely sufficient for attaching parts that experience the extremes of the marine environment.
· Use stainless steel or non-corroding fixings wherever possible to aid future removal and avoid items disintegrating. I found several steel screws used by a previous owner on the boat that had given up and items were being held together by nothing more than the paint film!
· Marine plywood (EN1088 from memory) is much more expensive than exterior ply, but is longer lasting and less prone to delaminating/warping, important as a flat non-jamming chart table is essential. I found my local boatyard were quite happy to sell me off cuts at discounted prices.
· Measuring twice, cutting once is critical, I scrapped the first set of runners I made for the 19” laptop rack as I failed to measure the rack sides properly and ended up making bent Aluminium items in the end
· Aluminium work hardens, so is best annealed once bent to relive stresses within the metal and avoid future cracking. I simply heated up with a blow torch as high as possible (without melting) and left to cool before cleaning up.
· Pilot drill any holes for fixings such as pins or screws as this avoids splitting or stressing the wooden parts during assembly and allows a smoother bulge free engineered fit. It takes some time but is worth the effort.
Roger Powell
 |
 |
 |
 |
 |
 |